Hi coders, In this article, I will show you how to setup Authentication with help of Django-allauth package in your Django App. We’re not going to use social authentication in this article. We will only see how to set up a normal username and password authentication with help of django-allauth.
So, Let’s start this guide.
Django-AllAuth Guide:
I’m going to use Virtual env in this guide with help of pipenv. If you are not using virual env then you can use pip to install Django and create a new project
django-admin startproject security_appInstalling Django-allauth package:
Now you have to install django-allauth package. So, install it using the following command:
pip install django-allauthOnce you’ve installed it, then You have to register it inside settings.py.
Configuring Settings.py file:
Now you have to add following required registration inside INSTALLED_APPS.
INSTALLED_APPS = [
    #...,
    'django.contrib.auth',
    'django.contrib.messages'
    'django.contrib.sites',

    'allauth',
    'allauth.account',
    'allauth.socialaccount',
]
By default, some of the above will be already available inside your INSTALLED_APPS.
And then Add following code in your settings.py file:
AUTHENTICATION_BACKENDS = [
    'django.contrib.auth.backends.ModelBackend',
    'allauth.account.auth_backends.AuthenticationBackend',
]

SITE_ID = 1

# Provider specific settings
SOCIALACCOUNT_PROVIDERS = {
    'google': {
        'APP': {
            'client_id': '123',
            'secret': '456',
            'key': ''
        }
    }
}
Now in the end, configure your urls.py file.
Configuring Urls.py file:
Now you need to import include method in urls.py and then add your allauth.urls at accounts path.
from django.contrib import admin
from django.urls import path, include

urlpatterns = [
    path('admin/', admin.site.urls),
    path('accounts/', include('allauth.urls')), # This one
]
Now finally all you have to do is to migrate:
python manage.py makemigrations

# and then

python manage.py migrate
Now just create an admin user first, so that whenever users signup you could see all your registered users there. Type following command
python manage.py createsuperuserSo, once you have created you admin user then simply run your project on local server
>python manage.py runserver
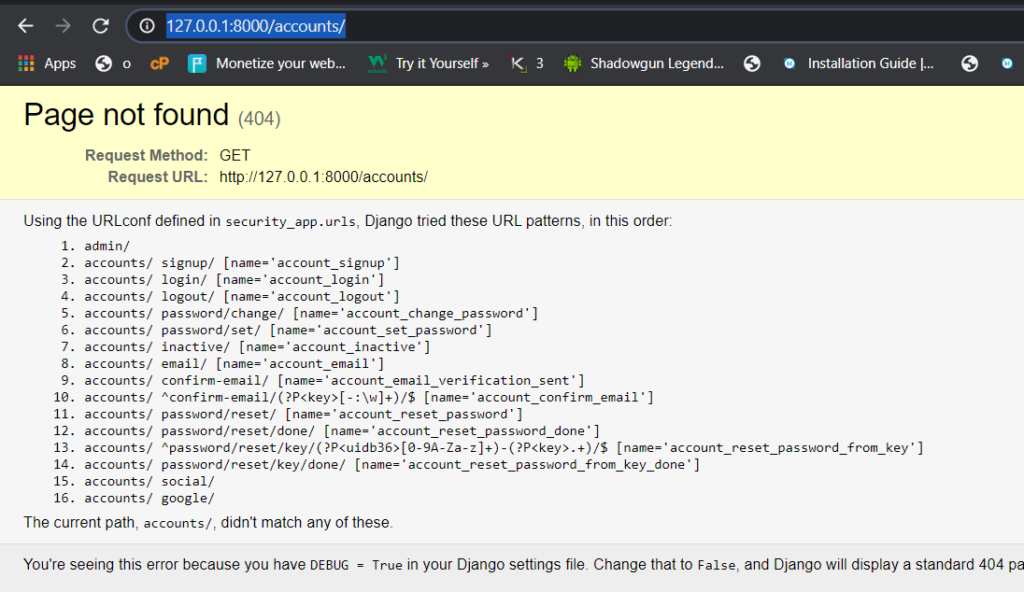
Now simply goto 127.0.0.1:8000/accounts/ there you will see all the URLs that are available.

Signup:
You can signup at accounts/signup/

Once you hit signup, then you will get an error page. don’t worry. this happens because we haven’t mentioned any redirected link yet.

But when you will check this inside your Django admin dashboard then you will see a new user is successfully created.

Similarly, you can use all other links e.g, login, logout, forget_password, etc.
You may also like: Django Rest Framework Full Guide
So, I hope you liked this article If yes then please don’t forget to share this with your friends. You can also subscribe to our blog to get future notifications from us.
Thanks to read.

