
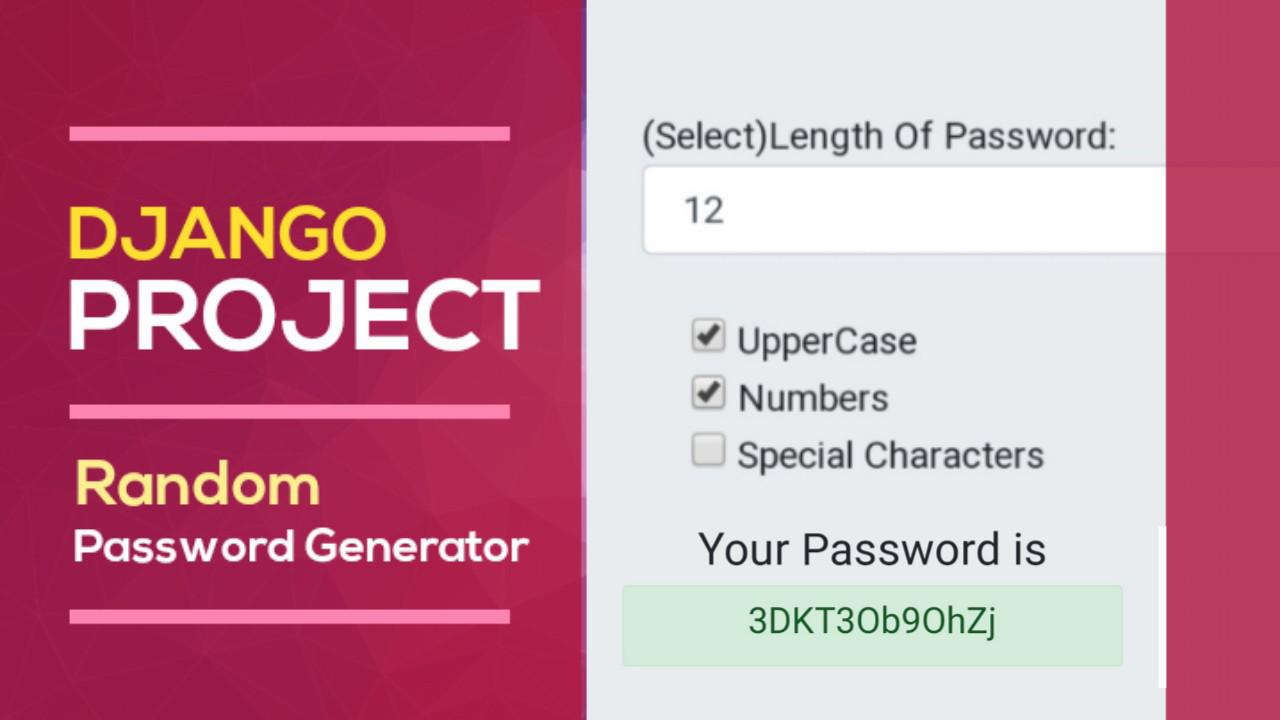
Hey Coders, In today’s article, We’re going to build a beautiful basic project in Django Framework. I think It will be one of the best project for all newbie beginners. So, If you just entered and have learned some basic things about Django then I think this Random Password Generator project would be best for you.
Before starting this Django Beginner Project, Let me tell you that what we’re going to build inside this Project.
PROJECT DESCRIPTION:
In this project, First we’re going to create two page. In which, one page will be take input and then other page will display processed data. In this project, we would dealing with only two file e.g: urls.py and views.py. Here, we don’t need to create any database for this project.
So, Without wasting any time, Let’s start our Django beginner project to build the Random Password Generator.
Building Password Generator Django Web App:
Let’s begin our project…
Before following this tutorial, Make sure you have installed Django Package. After then you can follow up this tutorial.
First, Let’s create our project. I’m going to give “pass_gen” name to my Django Project. Because we’re building Password Generator Website. To create a project you’ve to type following command:
django-admin startproject pass_genNow, the following command will create the project with folder name “pass_gen”. Now, open this project folder inside your IDE. I’m going to use my favorite PyCharm IDE, Which is best for all sort of python related codes.
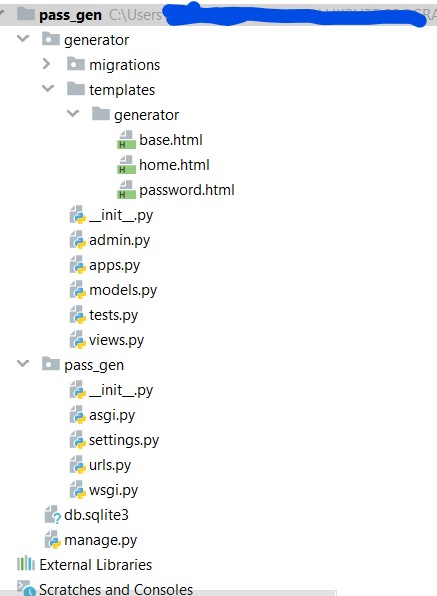
In Your main Project folder, You will see “pass_gen” folder again. Inside this pass_gen folder, You will have all required python files e.g settings.py, urls.py, models.py etc.
In Django, we can create different apps for different operations inside our main project. So, here we’re going to create our app called “generator” inside our main project . To create an app you have to type following command inside your project folder.
python manage.py startapp generatorListing Django APP in Settings.py
Once you’ve created your app then you have to list it inside settings.py app. In settings.py, you will see INSTALLED_APPS section, where you will list your generator app. So, first open settings.py that you will get inside your main app folder. Here, list you can list your created apps e.g
INSTALLED_APPS = [
    'django.contrib.admin',
    'django.contrib.auth',
    'django.contrib.contenttypes',
    'django.contrib.sessions',
    'django.contrib.messages',
    'django.contrib.staticfiles',
    'generator',
]
Now get inside you generator app folder, where you will different types python file e.g: views.py, models.py, admin.py, etc. But here, we’ll only play with views.py file.
Now It’s time to create pages. Here, we need two pages:
- home(Page): Here, we will display a form that will take input from user that which types of website they want. Once the user will hit the generate button then it will send them to password page.
- password(Page): Here, We will display users generated password according as per their given inputs.
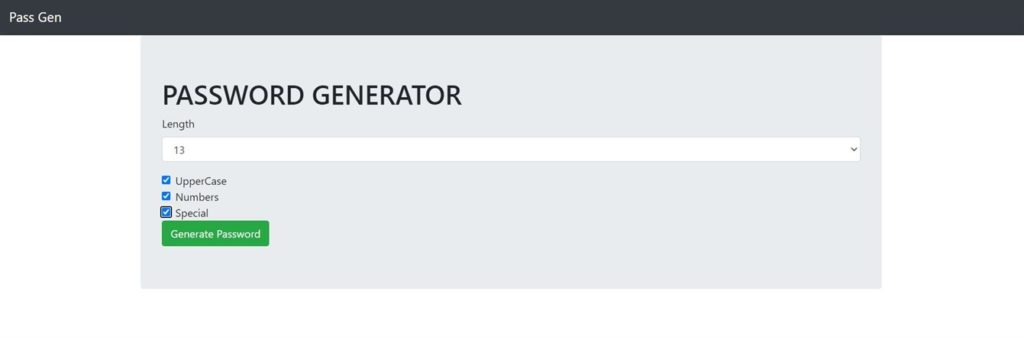
Home(Page):
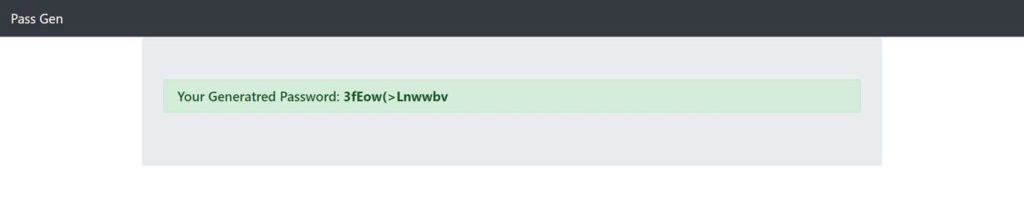
Password(Page)
Now I’m going to setup url for both pages.
Setting Up Url Paths:
Now let’s setup our url path for both pages. To setup url path you need to get inside your urls.py file of main root folder. Here, you need to edit your code like this:
pass_gen/urls.py:
from django.urls import path
from generator import views

urlpatterns = [
    path('', views.home, name="home"),
    path('password/', views.password, name="password"),
]
In this above, we’ve removed already defined admin path. Because we don’t need admin page in this project. Here, I’ve defined two path, but before that I’ve imported views files from generator.
In each path, we need to define 3 parameters e.g: url path, function and name. For home, We have defined our path like (‘ ‘), which means homepage, then views.home defines that whenever someone would visit our page then it will run home function of views file. Finally name=”home”, which means we can call our url using their respective names. As same we did with password/ url path.
Creating Templates:
Now Let’s create our required tempates, so that later on our views function can call them. Here we will create 3 html file.
- Home.html: It will be used to display our form to generate password.
- password.html: It will be used to display user random generated password
- base.html: It will be our base html, which means any html file can inherit this template.
But first, we need to create our folders, inside which we will place our all folders and files related to templates.
First create a folder called “templates” inside your generator folder. Now inside this folder again create a folder called “generator“. Inside this generator folder, we will place our all html file.
I’ve created all those required html below, that you could see.
Base.html
This is our base.html file, In which I’ve used some bootstrap for customization and a simple black navbar.
<!DOCTYPE html>
<html lang="en">
<head>
    <meta charset="UTF-8">
    <link rel="stylesheet" href="https://stackpath.bootstrapcdn.com/bootstrap/4.5.0/css/bootstrap.min.css" integrity="sha384-9aIt2nRpC12Uk9gS9baDl411NQApFmC26EwAOH8WgZl5MYYxFfc+NcPb1dKGj7Sk" crossorigin="anonymous">
    <title>Password Generator</title>
</head>
<body>
<!-- As a link -->
<nav class="navbar navbar-dark bg-dark">
  <a class="navbar-brand" href="{% url 'home' %}">Pass Gen</a>
</nav>

<div class="container">
    <div class="jumbotron">
        {% block content %}

        {% endblock %}
    </div>
</div>
</body>
</html>
Home.html
This is our home.html, where we’ve inherited template of our base.html. In this html code, I’ve defined form with action to password page. Inside this form, I’ve defined select input and some check boxes for conditions. Inside each and every tag, I gave a name, so that later on we could apply condition over these name in our views file.
Because we’ve pointed our form action to “password” path. Therefore, whenever someone would enter hit then it will send all required information to password page.
{% extends 'generator/base.html' %}
{% block content %}

<h1>PASSWORD GENERATOR</h1>

<form action="{% url 'password' %}">
    <div class="form-group">
    <label>Length</label>
    <select name="length" class="form-control">
      <option>8</option>
      <option>9</option>
      <option>10</option>
      <option>11</option>
      <option>12</option>
      <option>13</option>
      <option>14</option>
      <option>15</option>
      <option>16</option>
    </select>
    </div>
    <div class="form-check">
      <input class="form-check-input" type="checkbox" name="uppercase">
      <label class="form-check-label">
        UpperCase
      </label>
        <br>
      <input class="form-check-input" type="checkbox" name="numbers">
      <label class="form-check-label">
        Numbers
      </label>
        <br>
      <input class="form-check-input" type="checkbox" name="special">
      <label class="form-check-label">
        Special
      </label>
    </div>
    <button class="btn btn-success" type="submit">Generate Password</button>
</form>

{% endblock %}
Password.html
Here, we simply defined our password section, where user generated password will be shown. Here, we’ve accessed our password using {{password}} key, that we’re going to define in views.py section.
{% extends 'generator/base.html' %}
{% block content %}

<h5 class="alert alert-success">Your Generatred Password: <strong>{{password}}</strong></h5>


{% endblock %}
Views.py
Now let’s define home and password function inside our generator/views.py. So that url path could call these functions whenever someone will request or visit our page.
Before defining our function, let me show you my view.py code. After then I’ll explain each and everything explicitly.
views.py(code)
from django.shortcuts import render
import random

def home(request):
    return render(request, 'generator/home.html')

def password(request):
    characters = list('abcdefghijklmnopqrstuvwxyz')

    if request.GET.get('uppercase'):
        characters.extend(list('ABCDEFGHIJKLMNOPQRSTUVWXYZ'))

    if request.GET.get('numbers'):
        characters.extend(list('0123456789'))

    if request.GET.get('special'):
        characters.extend(list('!@#$%^&*()?><:;'))

    length = int(request.GET.get("length"))

    thepassword = ''
    for x in range(length):
        thepassword += random.choice(characters)

    return render(request, 'generator/password.html', {"password":thepassword})
Let me define each and every section of above code explicitly.
First, we’ll talk about def home(request) function. Here, you could see that I’ve simply returned a html page located at ‘generator/home.html’ path. Here, you need to note that I didn’t include templates folder with path. Because templates folder has already joint with every html files.
Now, Let’s define our def password() function. It’s the main function because it will check all condition entered by users and then will return a random password. Here, we will use random module to generate random password.
Inside password function, we will create list called characters that will contain all small letters from a to z. It will be default list. Random will be choose out it, when no one’s actually checked any condition e.g uppercase, special and numbers.
After then we will check ‘uppercase‘ condition, Here, we will use If condition. which means someone has checked uppercase checkbox then It will extend previous characters list with adding uppercase A-Z letters.
Now same It will check for ‘special’ and ‘numbers’.
After checking all these typical condition, we will define our length variable in integer type. This length variable will take data by using GET method that user had entered in length select section of home page.
Now we will define a empty string called thepassword, that will store our generated password after processing.
After then we will simply iterate using for loop, where length will be used as a range. Under this for loop you will see, In each iteration It will simply add a random character from characters list with previous “thepassword” string.
You May Also Like: Web Scraping With BeautifulSoup4 Tutorial
Running Your Project:
Now You need to run your project using following command:
python manage.py runserverNow It will run your server on your localhost https://127.0.0.1:8000. Visit on your localhost and then you will see your site is live.
If you would till face any problem then please comment below. We will try to solve your problem as soon as possible.
Thank’s To Read…