
Hello readers, This article will be very short and simple. Where I will explain to you how to install WordPress locally in Windows using the XAMPP Control panel. So, just follow this article step by step and you will be able to install and run WordPress on your localhost.
So, I divided entire process into small steps that you can follow easily. So, lets start this guide.
Install WordPress Locally using XAMPP:
- Install XAMPP Control Panel For Windows
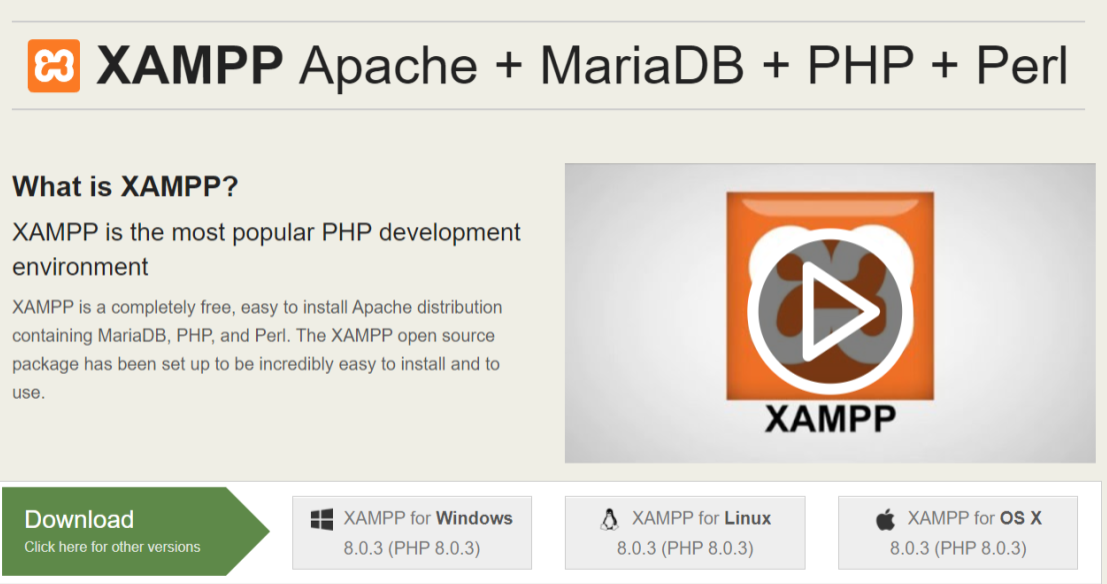
First of all, you need to install XAMPP Control panel for Windows, Which you can download from its official website – Click here to download. Install XAMPP for Windows.

- Install XAMPP Setup and Follow steps
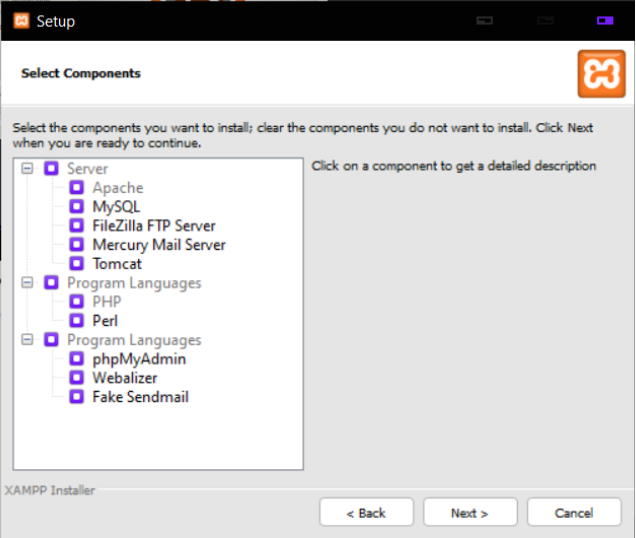
Once you have the XAMPP setup file, then just install it as per installation instruction. Remember, while you are installing it then don’t forget to check all these marks. And then leave everything as default and then click on install.
- Install WordPress Zip from Official Site
Now install WordPress zip file from its official website: Click here to download. - Start XAMPP control panel and servers
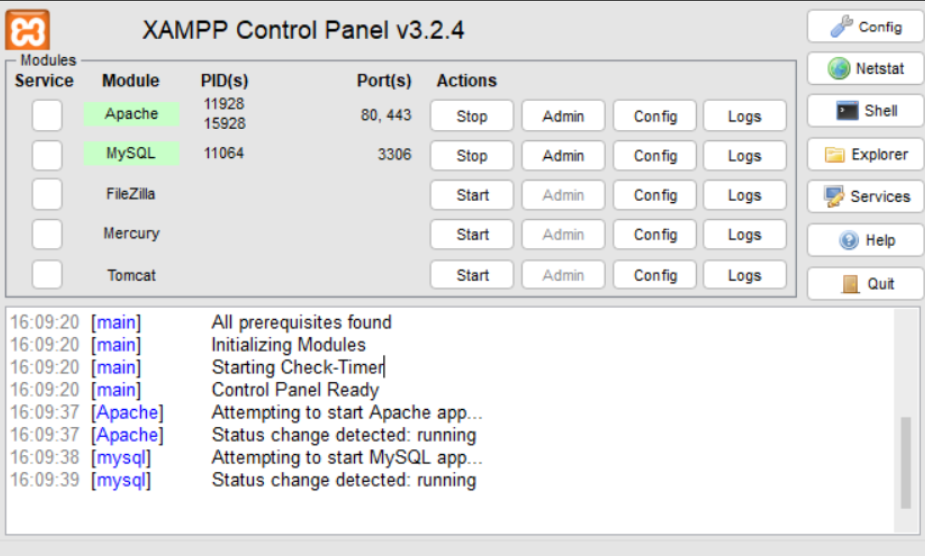
Now open your Xampp Control Panel and start Apache and MySQL server. - Creating MySQL Database
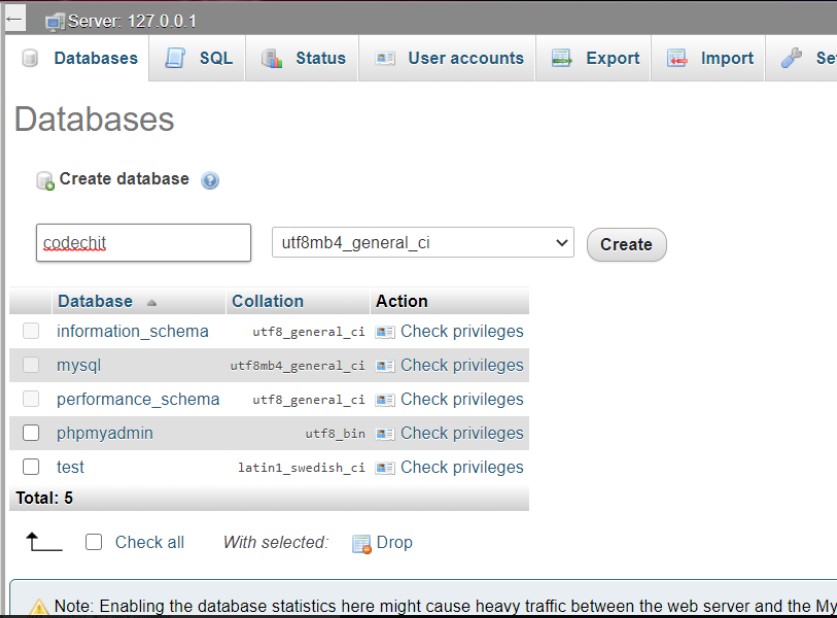
Now open your browser and visit http://localhost/phpmyadmin and here click on the new button. And then give a name to your database and click on create. - Extract WordPress Zip
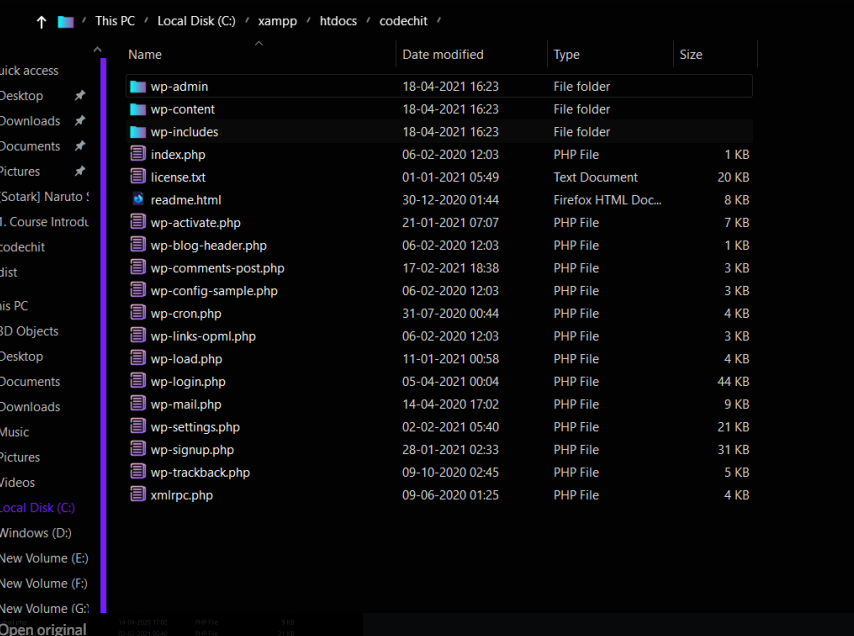
Now create a folder inside C:\xampp\htdocs\folder_name. I’ve created a folder name codechit so the directory will be C:\xampp\htdocs\codechit. Now you have to extract your wordpress.zip inside this folder that you just created.
Once you’ve extracted your WordPress zip then your directory will look like this C:\xampp\htdocs\codechit\wordpress\wordpress_files. You need to move wordpress_files to the parent folder which is C:\xampp\htdocs\codechit\wordpress_files. - Finally setup WordPress
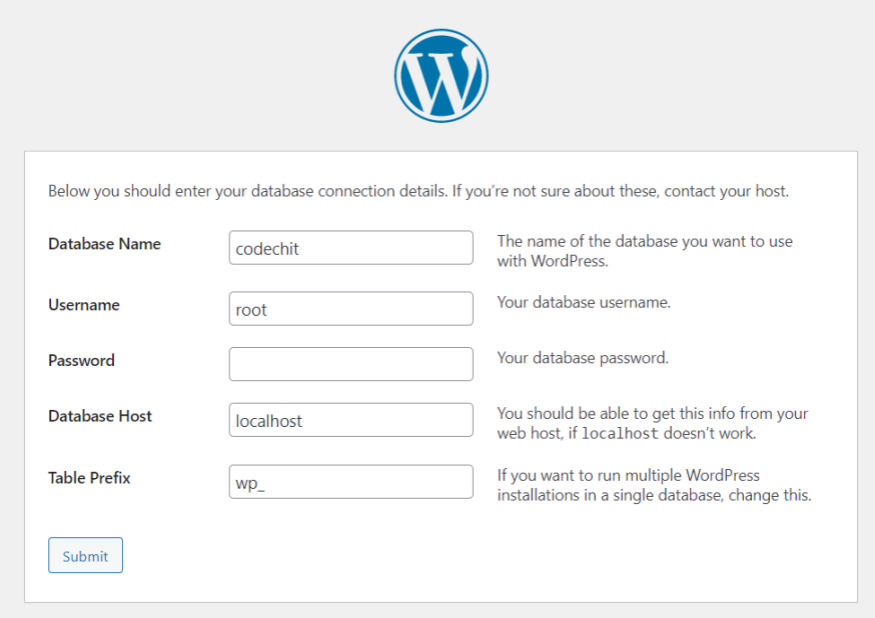
Now visit http://localhost/codechit and you will see WordPress installation setup, just follow the steps. Fill the database credentials database_name[‘your_database_name’], username[root] and password will be blank.
- Congrats!!!
Now you can access you wordpress at localhost/codechit.
So, I hope you all liked this article. If yes then please don’t forget to share this article with you friends.
Thanks to read